Credit Card Settings
To access the Credit Card Settings page, navigate to WooCommerce > Settings > Payments > Credit Cards (Stripe) by Payment Plugins in your WordPress admin dashboard, or visit:
https://your-site.com/wp-admin/admin.php?page=wc-settings&tab=checkout§ion=stripe_cc
The Credit Card Settings page is where you configure how credit card payments work on your WooCommerce store. These settings control everything from basic payment processing to advanced features like 3D Secure authentication and custom form styling.
Here you'll set up the payment experience for your customers, including payment capture settings, saved payment methods, fraud prevention options, and the visual appearance of your checkout forms.
Enabled
Controls whether credit card payments through Stripe are available on your checkout page. When enabled, customers will see the credit card payment option during checkout and can enter their payment information to complete purchases. When disabled, credit card payments will not appear as an option for customers.
Default: Enabled
General Settings
Title
The name that customers see for the credit card payment method on your checkout page. This appears as the payment option label and helps customers understand what payment method they're selecting. You can customize this to match your store's terminology or language preferences.
Default: Credit/Debit Cards
The title of "Credit Cards" is displayed
Description
Additional text that appears below the payment method title to provide customers with more information about paying with credit cards. This can include details about accepted card types, security information, or any special instructions. Leave this blank if you prefer a cleaner checkout experience without additional explanatory text.
Default: Empty (no description shown)

Credit Card Display
Controls how saved credit cards appear to customers on account pages, subscription management, and order details. This setting determines the format used to identify previously saved payment methods, helping customers recognize which card they used or want to use for future purchases.
Default: Type ending in (displays as "Visa ending in 1234")
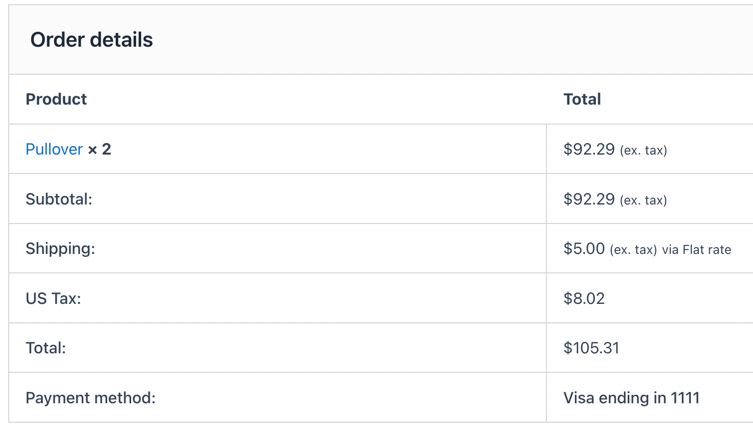
Example of the order received page showing the customer's payment method Visa ending in 1111.
Charge Type
Determines when customer funds are collected from their credit card. "Capture" immediately charges the customer's card when the order is placed, while "Authorize" only reserves the funds and requires manual capture later. Authorization is useful for custom products or when you need to verify inventory before charging customers.
Default: Capture
Order Status
Sets the WooCommerce order status after successful payment processing. "Default" allows WooCommerce to automatically determine the appropriate status based on the products purchased (virtual/downloadable products become "Completed" while physical products become "Processing"). Custom statuses override this automatic behavior for specific business workflows.
Default: Default
Allow Credit Card Save
When enabled, customers can save their credit card information for faster future checkouts. A checkbox appears on the checkout page allowing customers to opt-in to saving their payment method securely in Stripe's vault. For subscription orders, payment methods are automatically saved regardless of this setting to enable recurring billing.
Default: Enabled
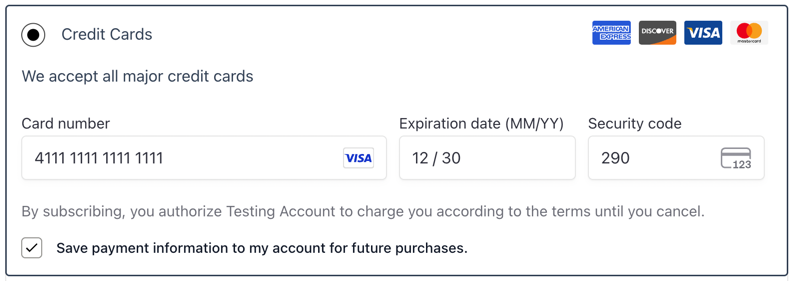
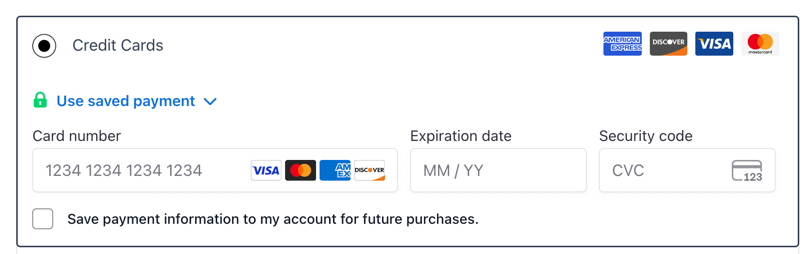
When enabled, a saved payment method checkbox will be available.
Force 3D Secure
Controls whether additional authentication challenges are required for all credit card transactions. Stripe normally determines when 3D Secure authentication is needed based on risk factors, but enabling this forces authentication for every transaction when the payment method supports it. This increases security but may impact conversion rates due to the additional step required from customers.
Default: Disabled
Generic Errors
When enabled, credit card error messages shown to customers become generic rather than specific. Instead of detailed decline reasons like "insufficient funds" or "expired card," customers see general messages like "payment failed." This can enhance security by not revealing specific information about why a payment was declined.
Default: Disabled
Credit Card Icons
Selects which credit card brand icons display on your checkout page to show customers which card types you accept. These visual indicators help build customer confidence by clearly communicating accepted payment methods. The icons appear near the credit card payment option during checkout.
Default: Visa, Amex, Discover, MasterCard
Link Options
Faster Checkout With Link
Enables Stripe Link integration within your credit card payment form. Link allows returning customers to pay with one click using their saved payment information from previous Link-enabled purchases across the web. New customers can create a Link account during checkout to speed up future purchases on your site and other Link-enabled stores.
Default: Enabled
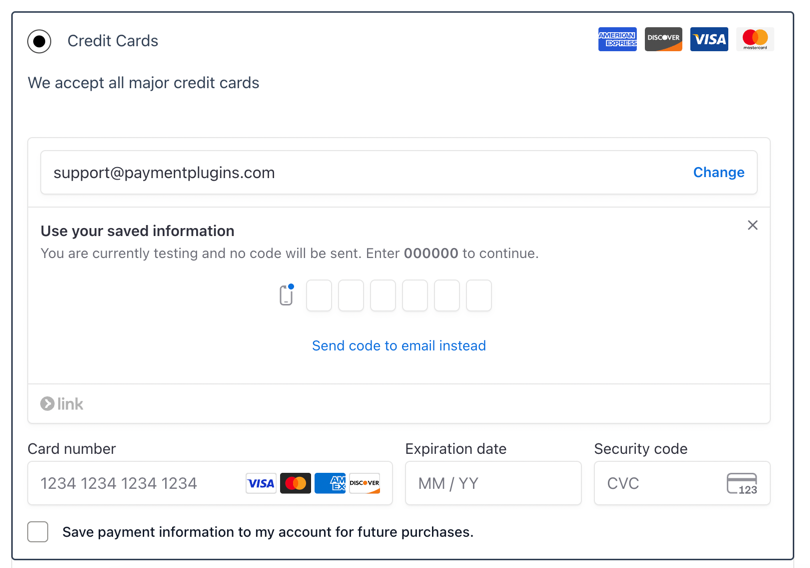
Link how it appears within the payment form
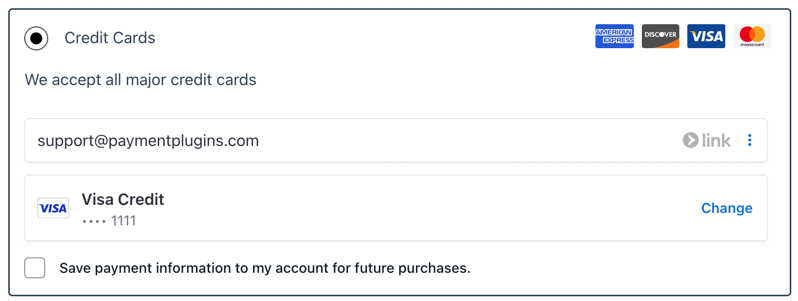
Example of how the customer's payment method appears after authenticating through Link.
Credit Card Form
Card Form
Selects the visual style and functionality of the credit card input form on your checkout page. The available options are:
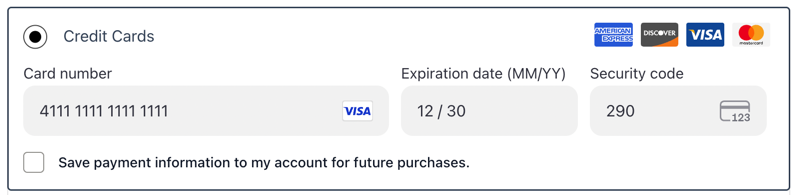
Stripe payment form (recommended) - provides a modern, secure embedded form

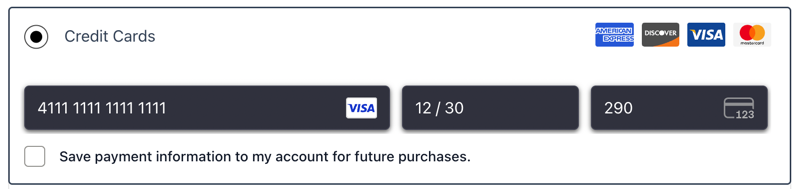
Stripe inline form - takes up less vertical space by displaying all fields on a single line

Custom form - allows complete styling control to match your site's design perfectly

Custom form - boostrap form

Custom form - simple form
Default: Stripe payment form
Theme
Controls the visual appearance of the Stripe payment form when using the default Stripe payment form option. The theme affects colors, styling, and overall look to complement your site's design. Different themes work better with light or dark website designs. How to customize the Stripe Payment Form
Default: Default
Dark theme example
Flat theme example
Custom Form
Selects the specific design template when using the Custom form option. Custom forms provide more styling flexibility and can be designed to integrate seamlessly with your theme's checkout design. Each template offers different layouts and styling approaches for the payment fields.
Default: Bootstrap
Postal Code
When enabled, the credit card form includes a separate postal code field for additional verification. When disabled, the postal code from the customer's billing address is used instead. The postal code field always appears on the "Add Payment Method" page regardless of this setting for security purposes.
Default: Disabled

When enabled, the custom form will render a postal code field.
Notices Location
Determines where credit card validation error messages appear on your checkout page. You can position these important messages above or below the card form, at the top of the checkout page, or specify a custom location using CSS selectors. Proper placement ensures customers can easily see and respond to payment errors.
Default: Above card form
Notices Selector
Specifies the CSS selector where validation notices are displayed when using the "Custom css selector" notices location option. This allows precise control over error message placement by targeting specific elements on your checkout page. The notices will be inserted at the beginning of the selected element.
Default: Above card form
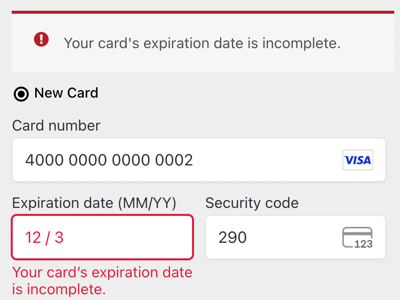
Incomplete card field notice showing above the card form.