Google Pay Setup Guide
The Google Pay integration with Stripe requires approval from Google's API team before you can use it in production. This process involves registering with Google Pay, creating a business profile, configuring your integration settings, and providing screenshots of your implementation for review.
The approval process typically takes one business day, and Google's team will review your integration to ensure it meets their standards and guidelines. While this may seem involved, the setup process is straightforward when you follow the steps outlined below.
Important Setup Requirement: If you prefer to avoid the Google Pay approval process, you can use the Payment Request Gateway which provides Google Pay functionality through Stripe's Payment Request API and doesn't require separate Google approval.
Prerequisites
Before beginning the Google Pay setup process, ensure that:
- Your Stripe plugin is configured and connected to your Stripe account
- You have access to the Google Pay & Wallet Console
- Your website uses HTTPS (required for Google Pay)
- You can capture screenshots of your checkout process
Step 1: Access the Google Pay Console
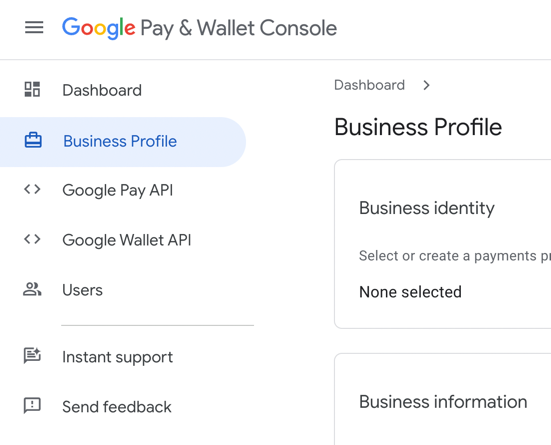
Navigate to the Google Pay & Wallet Console and log in with your Google account. You'll see the main dashboard with various options for managing your Google Pay integration.
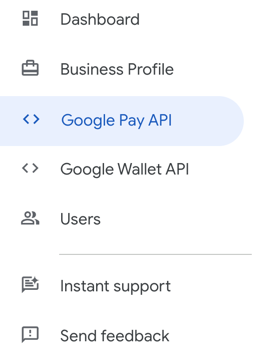
From the left sidebar, click on Business Profile to begin setting up your merchant profile.
Step 2: Create Your Business Profile
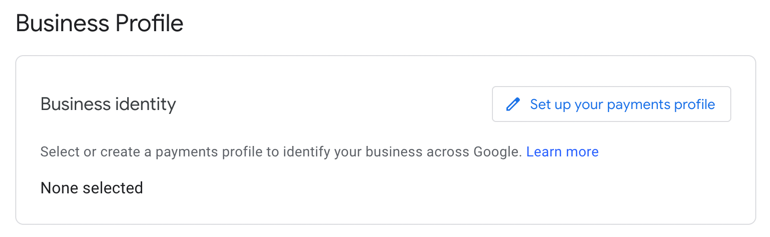
On the Business Profile page, you'll need to set up your payments profile to identify your business across Google's services.
Click "Set up your payments profile" to create a new profile or select an existing one if you already have a Google payments profile configured.
Once you've created or selected a payments profile, the Business Identity section will populate with your profile information, including your Payments Profile ID and other business details.
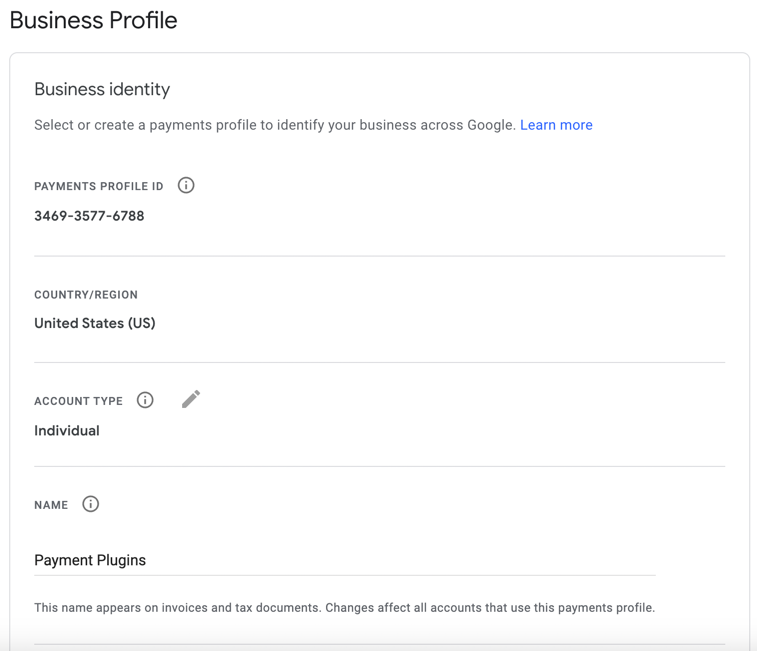
Completed business profile showing the Payments Profile ID and basic business information
Step 3: Configure Business Information
Scroll down to the Business Information section and click "Edit business information" to provide additional details about your business.
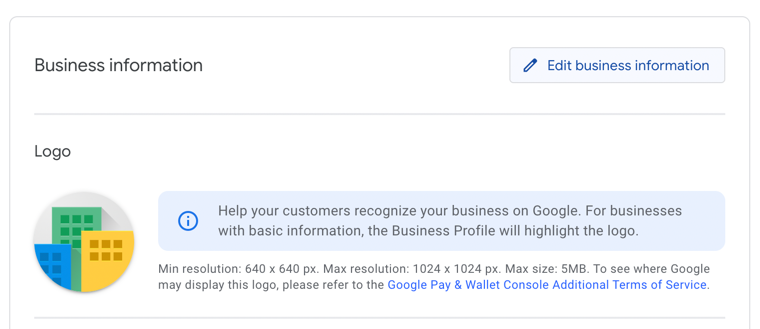
Fill out the business information form with accurate details about your company:

Business information form showing fields for company name, merchant category, contact details, and customer support information
Required Information:
- Public business name - The name customers will see during payment
- Merchant category code (MCC) - Select the category that best describes your business
- Business website - Your main corporate website URL
- Customer support URL - Where customers can get help
- Customer support email - Email address for customer inquiries
- Customer support phone - Phone number with country code
Optional Information:
- Business phone number
- Legal entity identifier (LEI) - only required for certain business types
Save your business information once completed.
Step 4: Configure Google Pay API Integration
From the left sidebar, navigate to Google Pay API to configure your website integration.
In the "Integrate with your website" section, click "+ Add website" to begin configuring your domain integration.

Step 5: Website Integration Configuration
Configure your website integration with the following settings:
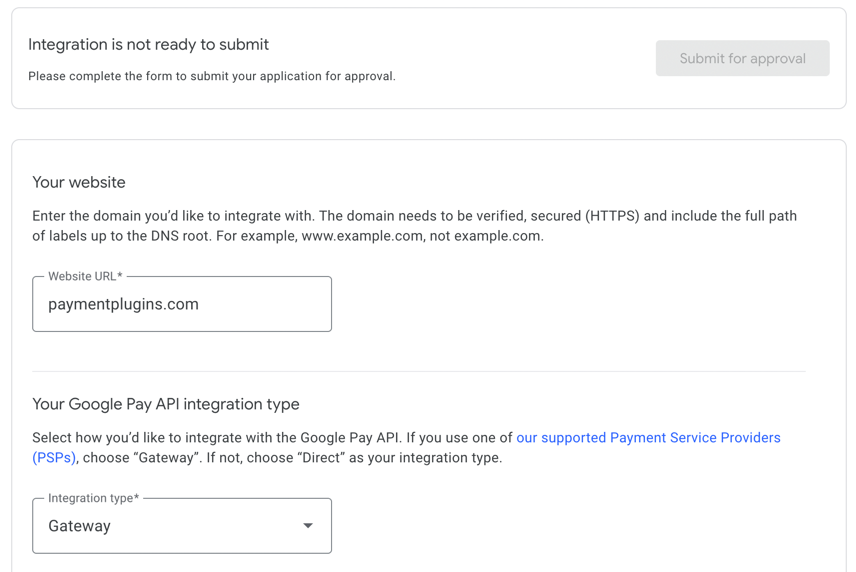
Website integration form showing domain configuration and integration type selection
Website URL Configuration: Enter your domain name carefully. Google's instructions about using "www" can be misleading - the correct format depends on your DNS configuration:
- If your site is accessible at
www.yourdomain.com, enterwww.yourdomain.com - If your site is accessible at
yourdomain.com, enteryourdomain.com
Domain Configuration Note: If you receive the error OR_BIBED_11 after your integration is approved, it means your domain configuration is incorrect. Try the opposite of what you originally entered - if you used "www", remove it, or if you didn't use "www", add it.
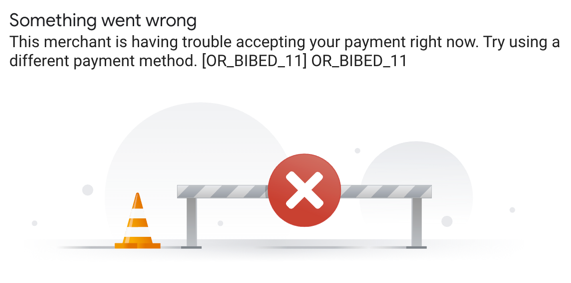
Example of the OR_BIBED_11 error that is the result of an incorrect domain name
Integration Type: Select Gateway since you're integrating through Stripe as your payment service provider.
Step 6: Prepare Screenshot Documentation
Before submitting your integration for approval, you'll need to capture screenshots demonstrating the complete Google Pay user experience on your website.
Important: Set your Stripe plugin to test mode before capturing screenshots. This allows Google Pay to function without requiring a Merchant ID, enabling you to demonstrate the full payment flow for Google's review team. For detailed information about testing Google Pay including how to access Google's test card suite, see our Testing Guide.
Google requires screenshots of the following stages in the customer journey:

Screenshot upload interface showing the five required stages of the buyer journey
Required Screenshots:
- Item selection - When a user is browsing a product or service on your site
- Pre-purchase screen - When a user is ready to make a purchase (cart page or beginning of checkout)
- Payment method screen - When a user selects Google Pay as their payment method
- Google Pay API payment screen - When Google Pay displays the user's saved payment information
- Post-purchase screen - Confirmation page after a successful purchase
Screenshot Recommendation: We recommend using a non-mobile device with Chrome browser to capture the screenshots for the best compatibility and ease of documentation.
Step 7: Submit for Approval
Once you've uploaded all required screenshots and completed the integration form, the "Submit for approval" button will become active.

Click "Submit for approval" to send your integration to Google's review team. You'll receive email notifications about the status of your review, and Google may request additional information or clarification during the process.
After Approval
Once Google approves your integration, you can configure your Merchant ID in the plugin settings. Your Merchant ID is available in your Google Pay console and can be found in the General Settings section:
- Locate your Merchant ID in the Google Pay console:

Google Pay console showing the Merchant ID location in the General Settings section
-
Navigate to WooCommerce > Settings > Payments > Google Pay (Stripe) by Payment Plugins
-
Copy this Merchant ID and paste it into the Google Pay Settings in your Stripe plugin:

Stripe plugin Google Pay settings showing the Merchant ID field populated with the value from Google Pay console
- Switch your Stripe plugin from test mode to live mode
- Test the complete payment flow to ensure everything works correctly
- Monitor for any domain-related errors and adjust the "www" configuration if needed
Troubleshooting Common Issues
Integration Not Ready to Submit Ensure all required fields are completed and all screenshots are uploaded before the submit button becomes available.
Integration Rejected If your integration is rejected due to the Google Pay icon displayed on the checkout page, you can modify the icon setting located in the Google Pay Settings. Navigate to WooCommerce > Settings > Payments > Google Pay (Stripe) by Payment Plugins and adjust the Icon setting to meet Google's requirements, then resubmit for approval.
Domain Verification Errors (OR_BIBED_11) This error indicates a mismatch between your registered domain and your actual site configuration. Try switching between including and excluding "www" in your domain registration. For additional help with this error, see these support threads:
Make sure your merchant ID value in the Stripe plugin settings is correct. An invalid value can also trigger the OR_BIBED_11 error. For more details, see this support thread.