Link Checkout Settings
To access the Link Checkout Settings page, navigate to WooCommerce > Settings > Payments > Link Checkout (Stripe) by Payment Plugins in your WordPress admin dashboard, or visit:
https://your-site.com/wp-admin/admin.php?page=wc-settings&tab=checkout§ion=stripe_link_checkout
The Link Checkout Settings page is where you configure Stripe Link's express checkout functionality for your WooCommerce store. Link provides customers with a lightning-fast checkout experience by allowing them to pay instantly using their saved payment and shipping information from previous Link purchases across the web.
Here you'll set up where Stripe's Link express checkout buttons appear throughout your store, customize the button appearance, and configure how Link processes payments. Link works similarly to Apple Pay or Google Pay but is available across all devices and browsers, making it a universal express checkout solution that can significantly reduce checkout friction and improve conversion rates.
Stripe data shows that enabling Link can increase conversion rates by up to 12%. We recommend enabling Link express checkout to provide your customers with the fastest possible checkout experience.
Enabled
Controls whether Link express checkout buttons are available throughout your store. When enabled, customers who have previously used Link on any participating website will see Link express checkout options on the sections you've configured (product pages, cart, express checkout, etc.). When disabled, Link express checkout buttons will not appear anywhere on your store. Note that this setting only controls the standalone Link express checkout buttons - Link authentication within the standard credit card form is controlled separately through the Credit Card Settings page and operates independently of this setting.
Default: Disabled
Link Checkout Locations
Selects where Link express checkout buttons appear throughout your store. You can enable Link on product pages for quick single-item purchases, cart pages for express cart checkout, and express checkout banners for prominent placement on the checkout page. Multiple locations can be selected to maximize customer convenience and provide express checkout options at key decision points in the shopping journey.
Default: Cart Page, Express Checkout
Options:
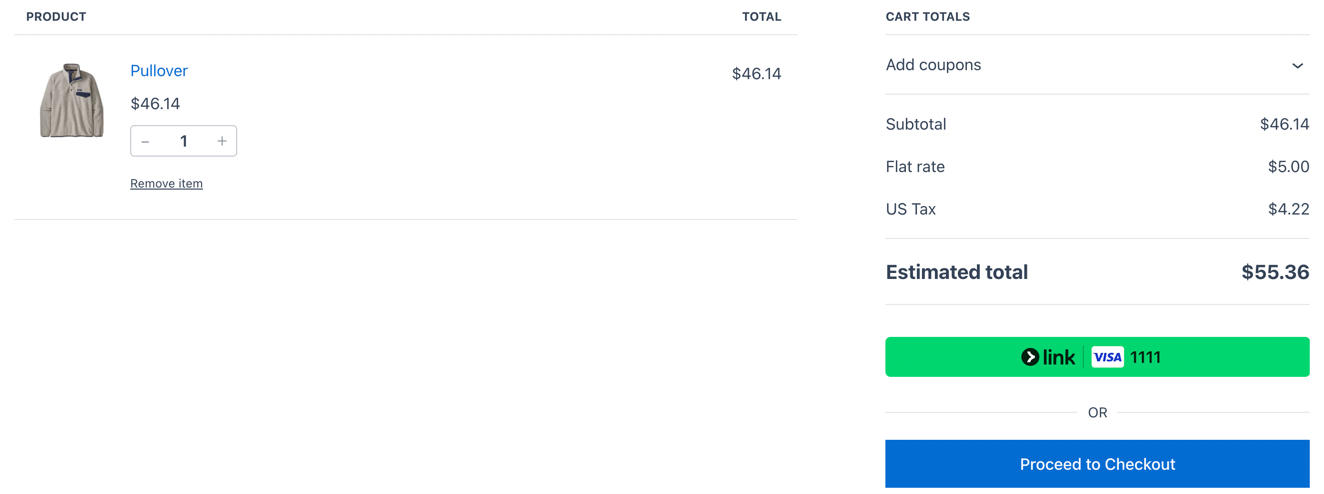
- Express Checkout - Displays Link buttons prominently on the checkout page above the standard payment form, allowing customers to bypass manual entry of payment and shipping information

- Cart - Shows Link buttons on the shopping cart page, enabling customers to proceed directly to payment without going through the traditional checkout process
- Product - Places Link buttons on individual product pages, allowing customers to purchase items immediately without adding them to the cart first

Charge Type
Determines when customer funds are collected from their Link transaction. "Capture" immediately charges the customer when the order is placed, while "Authorize" only reserves the funds and requires manual capture later. Authorization is useful for custom products, made-to-order items, or when you need to verify inventory before charging customers.
Default: Capture
Order Status
Sets the WooCommerce order status after successful Link payment processing. "Default" allows WooCommerce to automatically determine the appropriate status based on the products purchased (virtual/downloadable products become "Completed" while physical products become "Processing"). This automatic behavior follows standard WooCommerce logic and is the recommended setting. Custom statuses override this automatic behavior for specific business workflows.
Default: Default
Button Height
Controls the height of Link express checkout buttons in pixels. The button height can be adjusted between 40 and 55 pixels to match your site's design and visual hierarchy. Taller buttons may be more prominent and easier to click on mobile devices, while shorter buttons can integrate more seamlessly with compact layouts.
Default: 40 pixels