How To Create Sandbox Accounts
Why Do You Need Both Seller and Buyer Sandbox Accounts?
When testing PayPal payments, you're essentially creating a complete transaction ecosystem in a safe environment. Just like in the real world, every payment involves two parties: someone who receives money (the seller) and someone who pays (the buyer). Your sandbox testing needs to replicate this exact relationship.
You'll connect your PayPal plugin to the seller account—this represents your business receiving payments. The buyer account simulates your customers making purchases. This dual-account setup lets you test the complete payment flow from both perspectives, ensuring everything works seamlessly before going live.
Getting to PayPal's Sandbox Account Creation Tool
Start by navigating to PayPal's developer portal at developer.paypal.com/home/ and log in with your PayPal developer credentials.

Once you're logged in, you'll see the main developer dashboard. The most crucial step here is ensuring you're in sandbox mode—look for the toggle switch in the top right corner and make sure "Sandbox" is selected, not "Live."
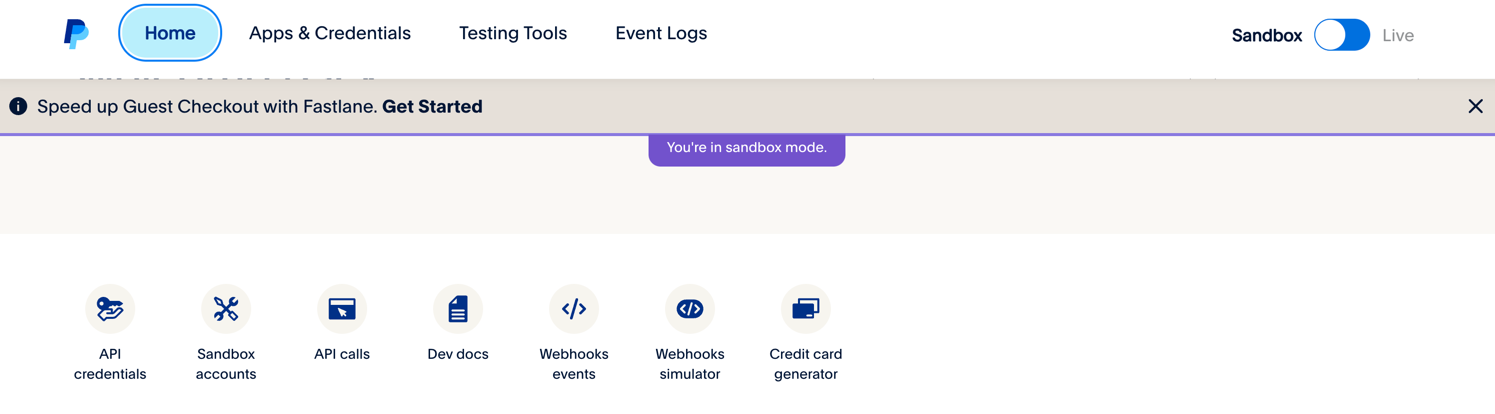
With sandbox mode enabled, you'll notice a purple banner confirming "You're in sandbox mode." Now scroll down to find the testing tools section and click on "Sandbox accounts."
Creating Your Business (Seller) Account
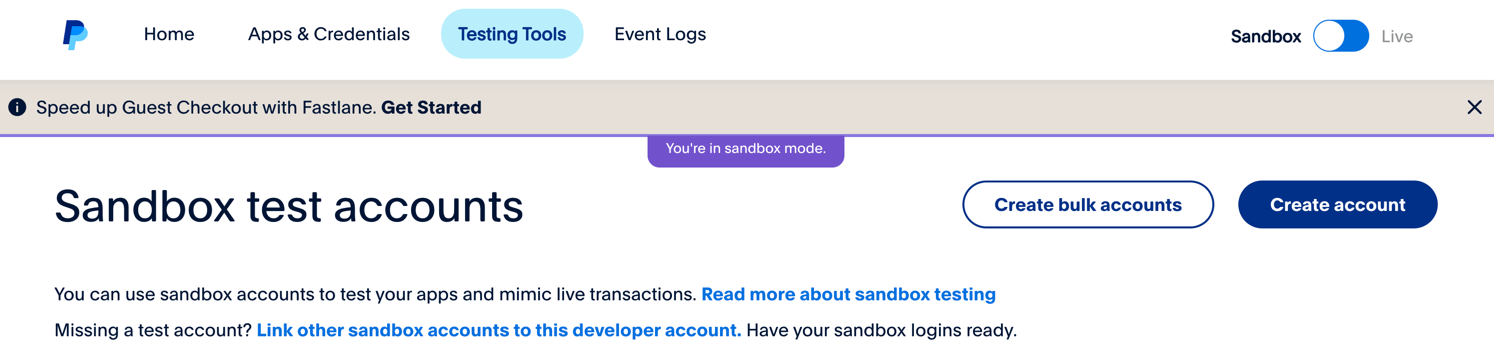
The sandbox test accounts page gives you complete control over your testing environment. Here, you can create as many test accounts as needed and manage them all from one central location.
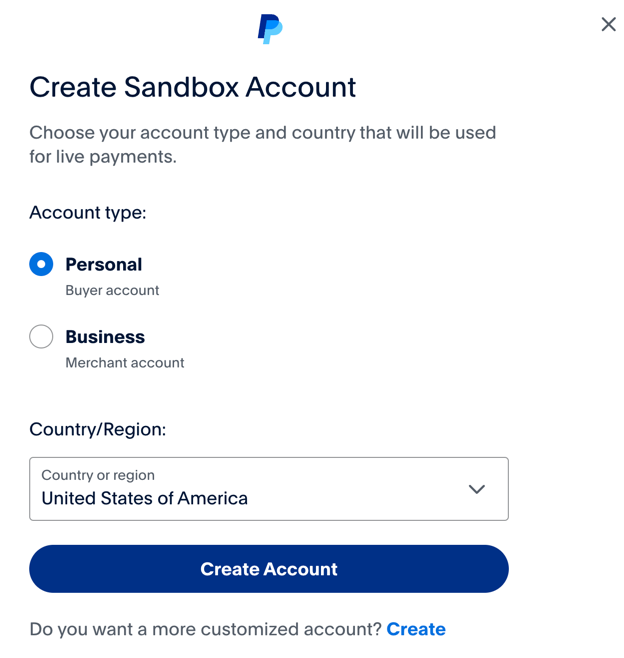
Click the "Create account" button to start building your seller account.
A modal window opens where you'll make two important decisions. First, select "Business" as your account type since this account will receive payments like a merchant. Second, choose your country/region—this should match where your actual business operates, as it affects available payment methods and currency options.
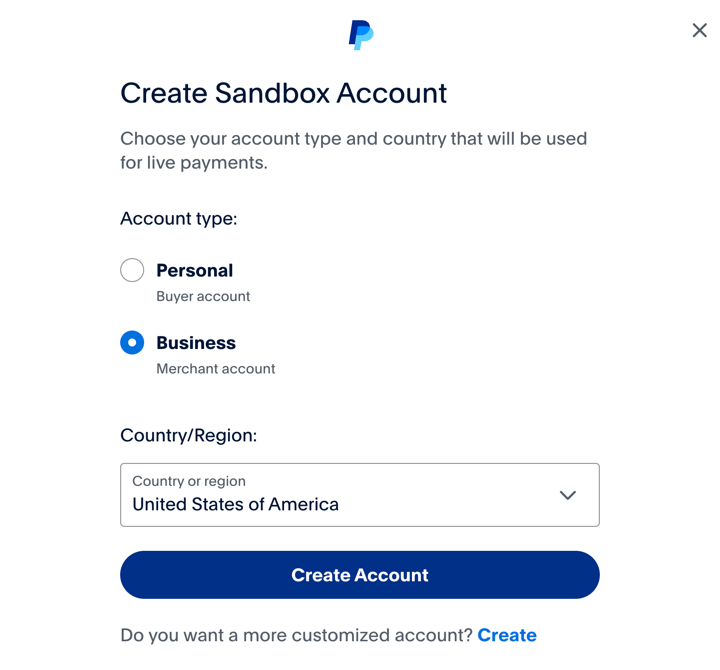
The default settings work perfectly for most testing scenarios, so you can simply click "Create Account" to proceed. For more customized options, click the "Create" link at the bottom of the modal.
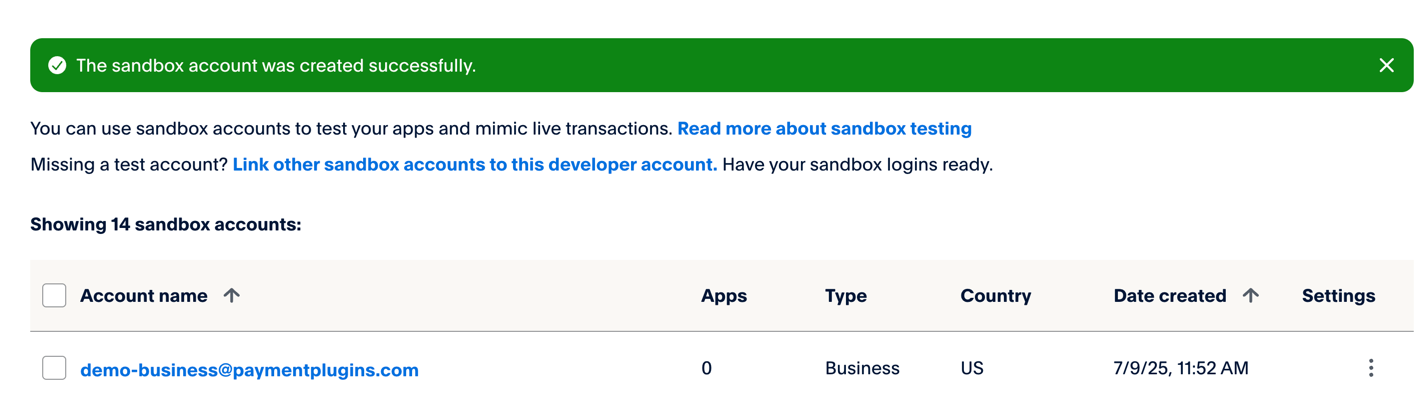
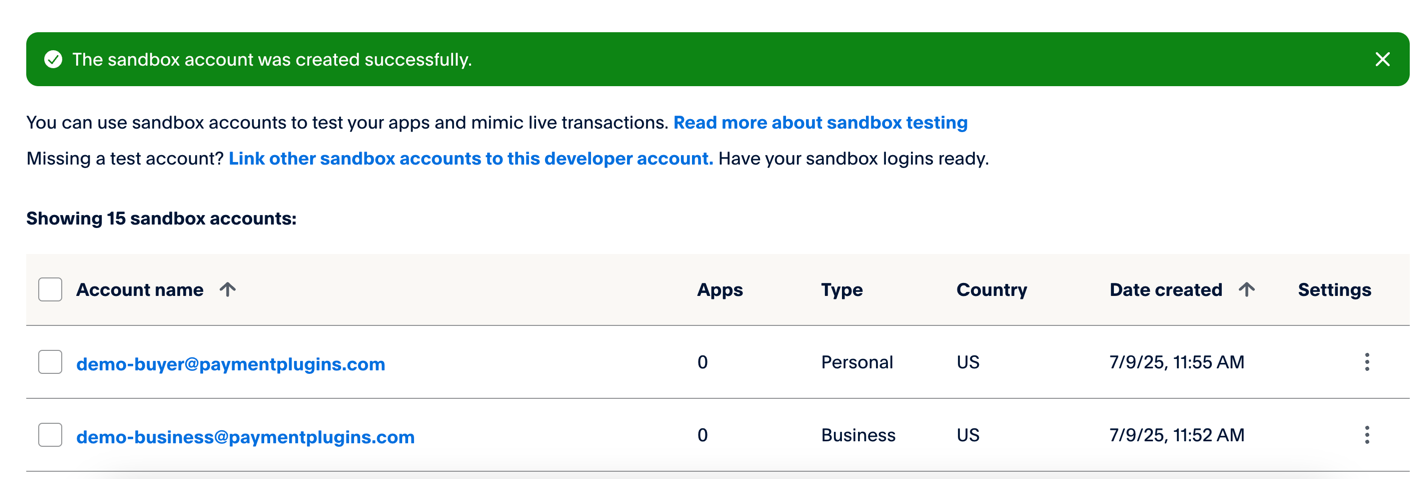
PayPal will generate your business account once you click Create Account. You'll see a green success message, and your new business account will appear in the accounts table with a unique email address, account type, and creation timestamp.
Creating Your Personal (Buyer) Account
Now you need a buyer account to simulate customer purchases. The process is identical to creating the business account, but with one key difference.
Click "Create account" again, but this time select "Personal" as the account type. This creates a buyer account that can make purchases but cannot receive business payments.
Keep the same country selection to ensure compatibility, then click "Create Account."
Your buyer account joins the business account in your sandbox accounts table. Notice how each account has its own unique email address—PayPal automatically generates these to keep your test accounts separate and organized.
Where To Find Account Login Credentials
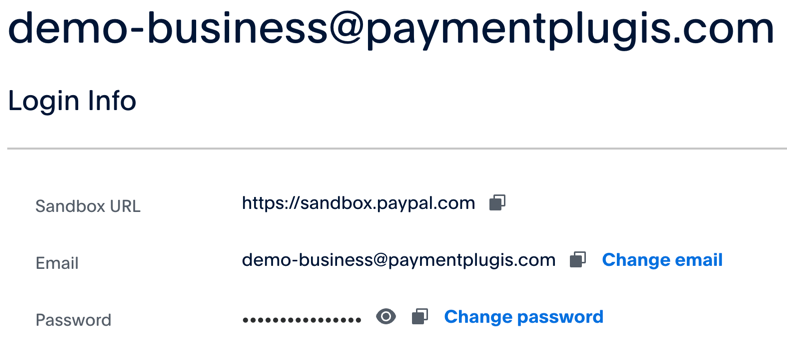
When connecting your PayPal plugin or testing transactions, you'll need the login credentials for your sandbox accounts. PayPal generates a password if during account creation you didn't provide your own password, and you can easily access them through the developer portal.
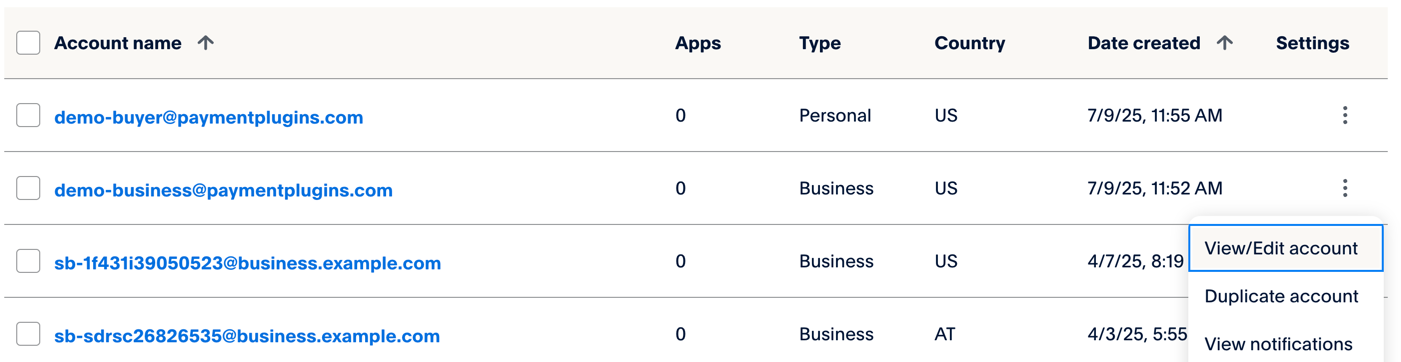
To view account credentials, click the three dots in the account row and select View/Edit account.
On the account details page, you can copy both the email address and password. These credentials are what you'll use during the connection process or when logging into the sandbox account for testing.
Connecting Your Plugin to the Seller Account
With both accounts created, you're ready to connect your PayPal plugin to the business account. As explained in the Getting Started - Connect your PayPal Account section, you have two options: use PayPal's automated connection process (recommended) or manually enter API credentials.
The automated connection is faster and eliminates the possibility of typing errors, so most users should choose this method. However, if you prefer manual setup or need custom configurations, you can create your own application.
For manual setup, you'll need to create an app in your developer account. When you do this, make sure to select "Merchant" as the app type—this tells PayPal that your application will be receiving payments, not sending them.
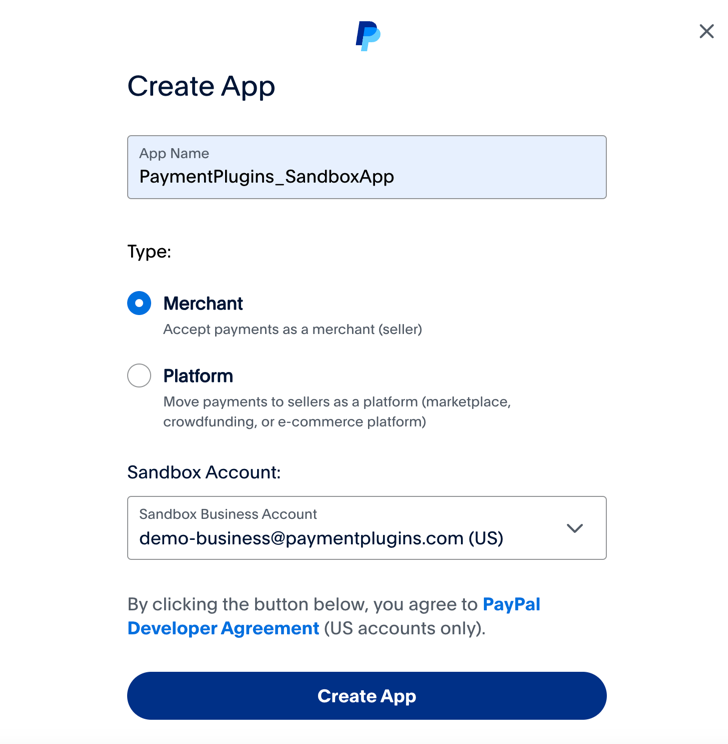
In the "Sandbox Account" dropdown, select the business account you just created. This links your application to the correct seller account and ensures all test transactions flow to the right place.
What Happens Next
Once your accounts are created and connected, you have a complete testing environment. Your business account can receive payments, your buyer account can make purchases, and your PayPal plugin sits in the middle orchestrating the entire process.
You can now test different payment scenarios, verify webhook functionality, and ensure your checkout process works smoothly—all without risking real money or affecting live customers. When you're satisfied with your testing, you'll switch to Production mode and connect to your actual PayPal business account.