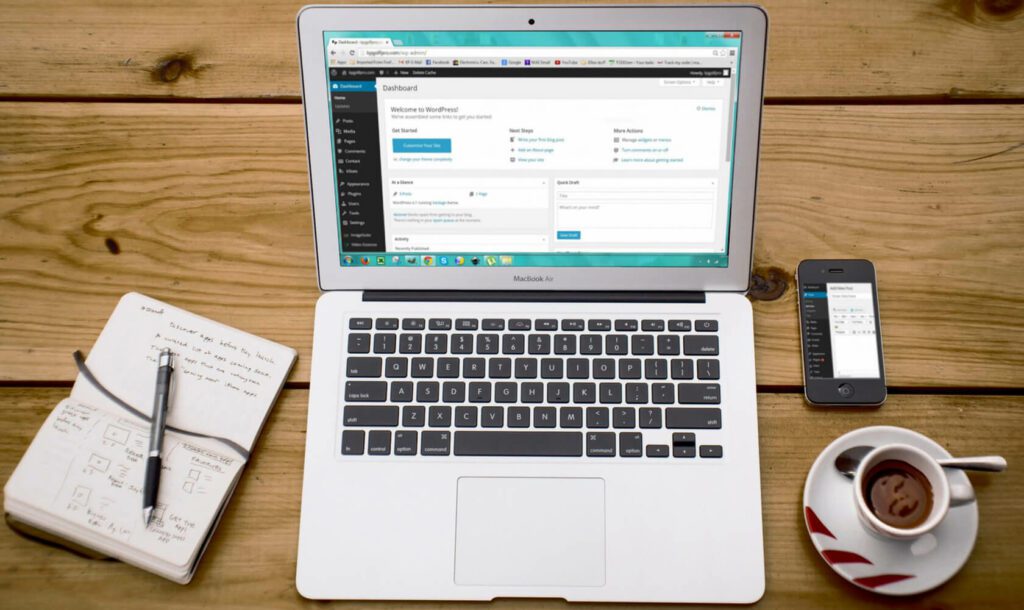
Hundreds of e-commerce and service sites are built and launched on WordPress every year. With integrations available to all major payment processors, it is no wonder WordPress is popular for sites focused on generating sales. However, when creating a new site, it can be overwhelming to sort through the necessary information and multiple plugins available to establish the best, most streamlined checkout solution.
Follow our step-by-step guide to installing WooCommerce and integrating payment gateways onto your site.
The Difference Between a Payment Gateway and a Payment Processor
Before starting, it is critical to understand the difference between a payment gateway and a payment processor.
A payment processor is necessary to set up checkout buttons on a site. Processors are responsible for handling customers’ personal data, charging the customer’s account correctly, and then transferring funds to the business.
Closely related but different is the payment gateway. A gateway is a third-party tool that ensures the data is passed accurately and safely between the site payment form and the credit card merchant. Most importantly, gateways must be secure and follow the Payment Card Industry Data Security Standard. Its purpose is to encrypt data to keep it private as it passes it along to the processor.
WordPress With WooCommerce

One of the most popular payment options on WordPress is WooCommerce. While WooCommerce accepts merchants such as Visa, Amex, and Master Card, it is missing some other large payment platforms like PayPal, Braintree, and Stripe. To use those additional merchants, a separate payment gateway is required.
Rather than manually adding codes for new gateways to extend payment options to customers, plugins make creating and connecting to commerce simple. Plugins can create gateways to your pre-existing merchant accounts without hands-on coding. Payment Plugins is here to make creating a new payment flow straightforward and seamless. We offer high-quality, secure code that seamlessly integrates with more merchants via WooCommerce.
Here’s how to install and establish new payment processing on WordPress with WooCommerce.
1. Install WooCommerce
First and foremost, install WooCommerce as your primary checkout plugin. Install WooCommerce by selecting the “plugins” tab on the left-hand navigation bar. Next, search WooCommerce and click “install.”
Follow the guided setup instructions to integrate WooCommerce.
WooCommerce will now act as your primary source for all transactions, order tracking, and price management.
2. Choose the Right Gateway

Next, find the right payment gateway and process for you. Certain plugins only partner with certain merchants. Some plugins are also more secure and reliable than others.
At Payment Plugins, our focus is developing the best plugins (such as Stripe, Braintree, and PayPal) for WooCommerce. Not only do we partner with key merchants, but we also focus on scalable solutions. This payment plugin can effortlessly grow and expand alongside your business. Additionally, we offer premium customer support options so that resources are always at your fingertips.
3. Search Existing WooCommerce Plugins and Install
Now, go to your WordPress dashboard and select “plugins” from the left-hand navigation once again. From there, search Payment Plugins to find the right application and then click “install now.” Follow the prompts after installation to connect the new gateways to additional merchants like PayPal.
Need help locating our plugins via search? You can also find direct downloads to our plugins here.
4. Edit Your Payment Form and Ensure All Payment Fields Look Correct

With our plugins installed, view all settings to ensure all information is updated and cohesive between WooCommerce and the additional gateways. This is the time to ensure all the product and checkout page URLs are correct, the currency is set, and the information regarding your company’s financial accounts looks accurate.
5. Ensure All Products Are Integrated
Now that the additional payment merchants have been added through our new gateways, this is the time to check on the “products” tab on the left-hand navigation. Ensure product pages are up to date, or, if not done yet, add new products to sell under this section until all inventory is on display.
6. Test Your Payment Method
Finally, before publicly launching, be sure to test your payment process from start to finish. Add items to your cart, select one of the new merchants added through Payment Plugins, input payment information, and complete checkout. Ensure there are no bugs with the checkout method and that orders are being processed correctly after payment is received.
Customers tend to abandon their cart if met with difficulties during checkout. Always test before officially launching.
Contact Us Today

Never miss out on another sale. Offer a wider variety of merchants such as Stripe or Braintree to customers with easy gateway solutions from Payment Plugins. With reliability and security in mind, our code is rigorously tested and quality ensured. For more information about premium customer service options, contact us today.
