
If you’re launching an online business, one of the critical choices you must make is deciding which payment gateway to use. While there are several options available, businesses using WooCommerce should consider Stripe as a top contender due to its international transaction capabilities, clear fee structure, top-quality security, and sales scalability. To simplify transactions for customers and begin accepting payments quickly, using Stripe WordPress plugins is the best way to get started.
Find out exactly how to install Stripe for WooCommerce in a few easy steps. No guesswork or headaches needed.
Why Use Stripe for WooCommerce?
The most straightforward way to integrate into a site is by using a plugin. Stripe for WooCommerce by Payment Plugins is the best plugin to seamlessly and efficiently add Stripe at checkout. Our plugin acts as a WooCommerce Stripe extension, allowing for more payment options such as Buy Now, Pay Later, Apple Pay, and more.
Unlike other plugins, we are a verified Stripe business partner, we offer automatic customer data migration, and we contain high-quality code you can trust. Additionally, we consider ourselves a plugin that works right out of the box. While customizations are possible, they are not required.
Find out more about what makes us the best Stripe plugin.
Implementing the Best Plugin for Stripe

Integrating a new payment gateway can feel overwhelming, especially for those with little web experience. No matter your experience level, implement Stripe for WooCommerce with our easy setup guide below.
#1: Create an account with Stripe
Before any WooCommerce Stripe integrations can take place, businesses must first create an account with Stripe themselves. To create an account with Stripe, be prepared to enter business details, contact information, and bank account details. This process is very intuitive and should only take a few minutes.
Once you complete this step, leave this webpage up and open a new tab so you can quickly toggle between WordPress and your Stripe account during setup.
#2: Find and Install Stripe for WooCommerce
To find and download our plugin, simply visit our Stripe WordPress page here and download.
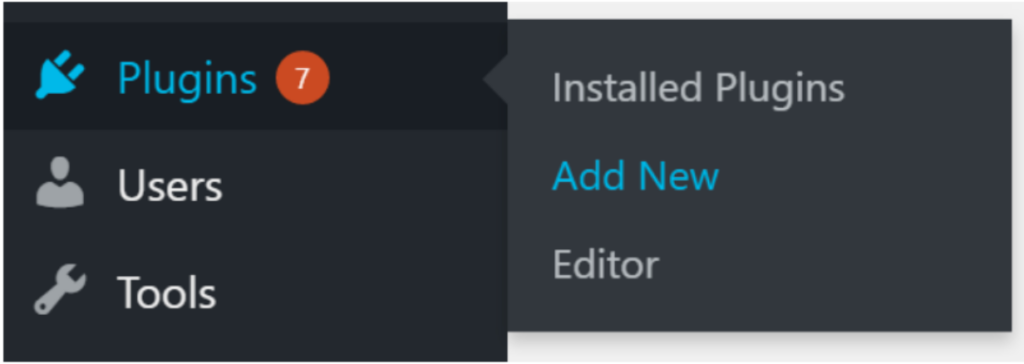
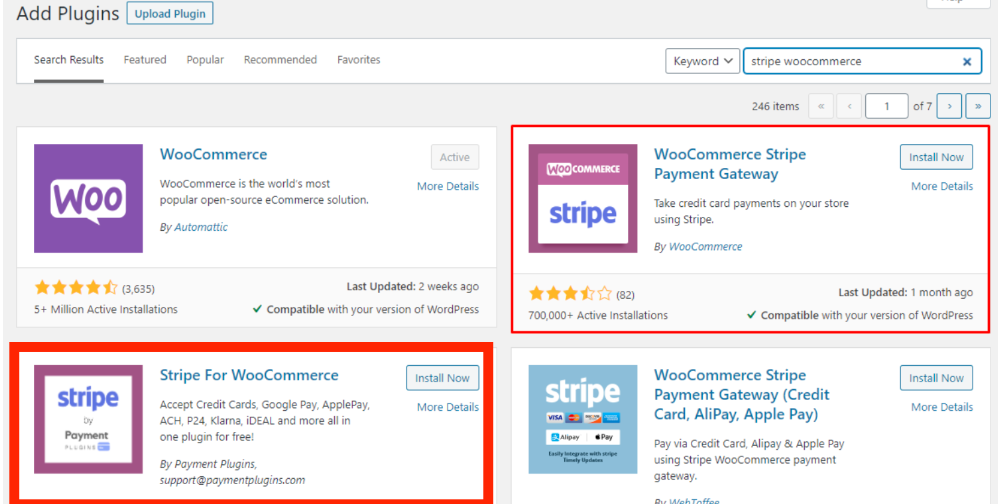
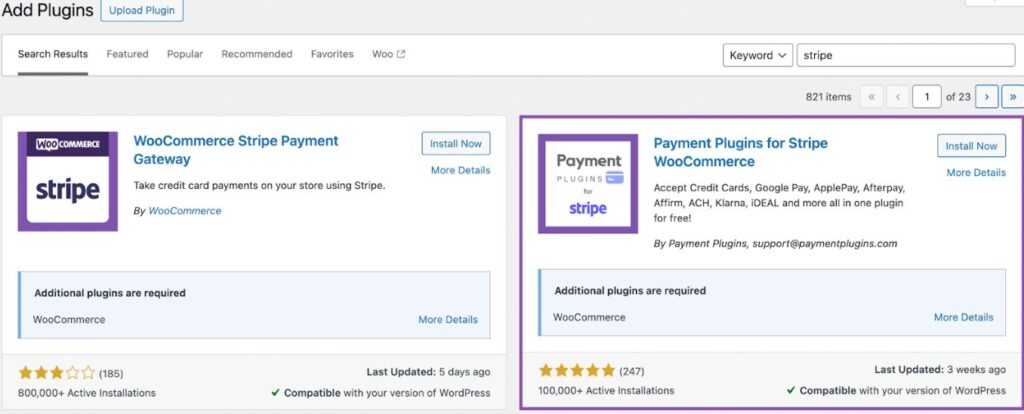
Alternatively, you can find “Admin Plugins” on the left side navigation of your WordPress site. Once there, select “Add New” and be redirected to a search page. From there, enter “Stripe for WooCommerce” and find the plugin from Payment Plugins.
Once the plugin has been added, be sure to activate it.
#3: OPTIONAL! Test Your Plugin
Once the plugin is activated, you can immediately connect it to your Stripe account and go live. However, for those looking to run through an example transaction first, testing the plugin is also possible.
First, go to the plugin settings and toggle the “test mode” on.
Then, go to your Stripe dashboard, find the “Get your test API keys” button, and copy both keys.
Next, back in WordPress, under plugin settings, paste the two test keys into the boxes provided under “Payment Settings.” Then, enter a webhook. (Test webhooks can be generated on your Stripe account page). Press the save button to activate.
Finally, run a test transaction as if you were a normal customer checking out on your site. You will be able to verify if your transaction was completed successfully by going to the WooCommerce Orders tab. If the order appears as it should in this section, your integration was a success!
#4: Turn Live and Begin to Sell!

If you’re following step three to test, return to the WooCommerce Stripe plugin and toggle off test mode. Toggling off the switch will now turn your integration live and active on-site.
If you’re skipping step three, activating the plugin will turn Stripe live.
Note: For businesses switching from a previous plugin or account, Payment Plugins allows for automatic migration of customer data to our plugin. As soon as the plugin becomes active, the migration will take place.
Now you are ready for real customer purchases!
Get Your Stripe WordPress Plugin Running Today
Choosing the best WordPress Stripe plugin can be the difference between a good checkout experience and a great one. Since 2019, we have partnered directly with Stripe, attending annual conferences and participating in roundtable discussions to help guide new features.
But don’t just take our word for it. With over 100,000+ installs, see what our users have to say about their experience with our plugin and why using Payment Plugins is an easy and logical way to build your business.