Setup Guide
Setting up Apple Pay for your WooCommerce store requires domain verification with PayPal to ensure your website is authorized to process Apple Pay transactions. This verification process involves uploading a domain association file to your website and registering your domain through your PayPal account settings.
The setup process is straightforward and typically takes just a few minutes to complete. Once configured, your customers using Apple devices will see Apple Pay as a payment option during checkout, allowing them to complete purchases quickly using their saved payment information.
Prerequisites
Before beginning the Apple Pay setup process, ensure that:
- Your PayPal plugin is installed and connected to your PayPal account
- You have access to your PayPal business account (sandbox or production)
- Your website uses HTTPS (required for Apple Pay)
- You have admin access to your WordPress site
Step 1: Upload the Domain Association File
The first step is to upload Apple's domain association file to your website. This file proves to Apple that you own the domain and are authorized to process Apple Pay payments.
Navigate to WooCommerce > Settings > Payments > Apple Pay Settings in your WordPress admin dashboard.

Click the "Add domain association file" button. This button triggers an automatic process that checks for a .well-known directory at the root of your web server and creates it if it doesn't exist, then uploads the required domain association file.
Manual Upload Required? If the automatic upload fails, you'll need to manually create the .well-known directory at your website root and upload the domain association file. You can download the file from PayPal's developer documentation.
When the upload is successful, you'll see a confirmation message:
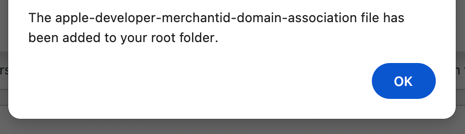
Success message confirming the domain association file has been added to your root folder
Important: Domain Association File Requirements
The domain association file must be publicly accessible at https://yourdomain.com/.well-known/apple-developer-merchantid-domain-association and your web server must return a 200 HTTP response code when this URL is accessed.
If your server returns a 302 redirect or any response other than 200, PayPal will not be able to verify your domain and Apple Pay registration will fail. Make sure your .well-known directory is accessible and not blocked by security rules or redirects.
Step 2: Access Your PayPal Account Settings
Now that the domain association file is in place, you need to register your domain with Apple Pay through your PayPal account. The steps are the same whether you're using a sandbox or production account.
Log in to your PayPal account:
- Sandbox: https://www.sandbox.paypal.com/signin
- Production: https://www.paypal.com/signin
Once logged in, click your profile icon in the top right corner and select Settings from the dropdown menu.
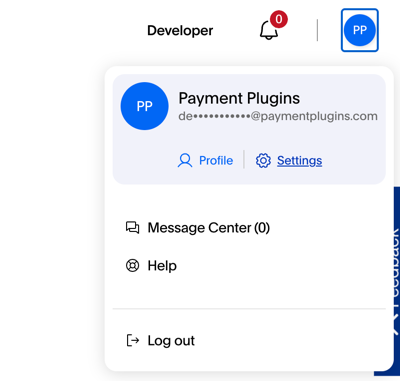
PayPal account menu showing the Settings option under the profile dropdown
Step 3: Navigate to Payment Methods
From the Settings page, look for the Payment methods option in the left-hand navigation under the "Products & Services" section.
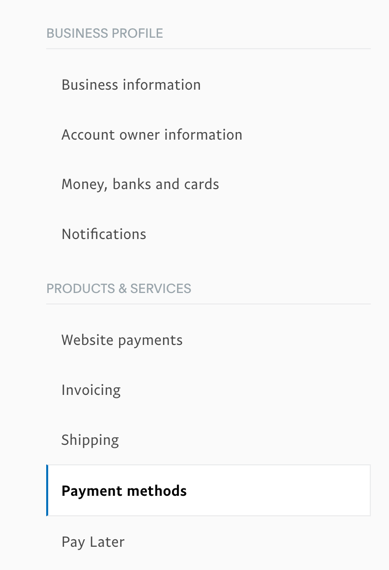
PayPal Settings page showing Payment methods in the Products & Services navigation section
Click Payment methods to access the payment methods configuration page.
Step 4: Register Your Domain with Apple Pay
On the Payment Methods page, you'll see the available payment methods including Apple Pay and Google Pay.
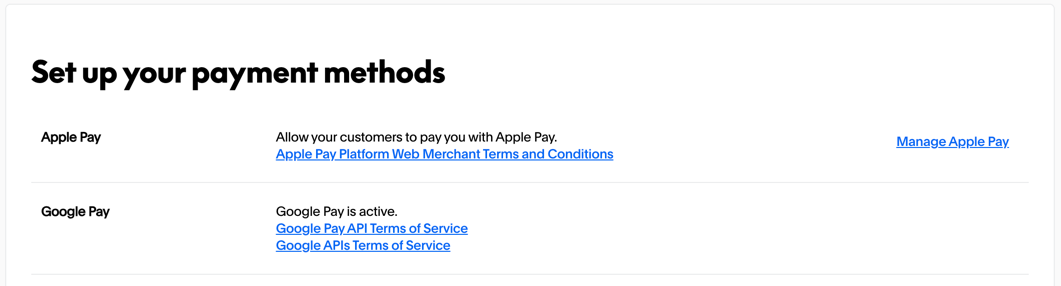
Payment methods page showing Apple Pay with the Manage Apple Pay option
Click "Manage Apple Pay" to begin the domain registration process.
You'll see a page showing domains currently registered with Apple Pay. Click the "Add Domain" button to register a new domain.

Apple Pay management page with the Add Domain button for registering new domains
PayPal will display the domain registration workflow, which explains the three-step process:
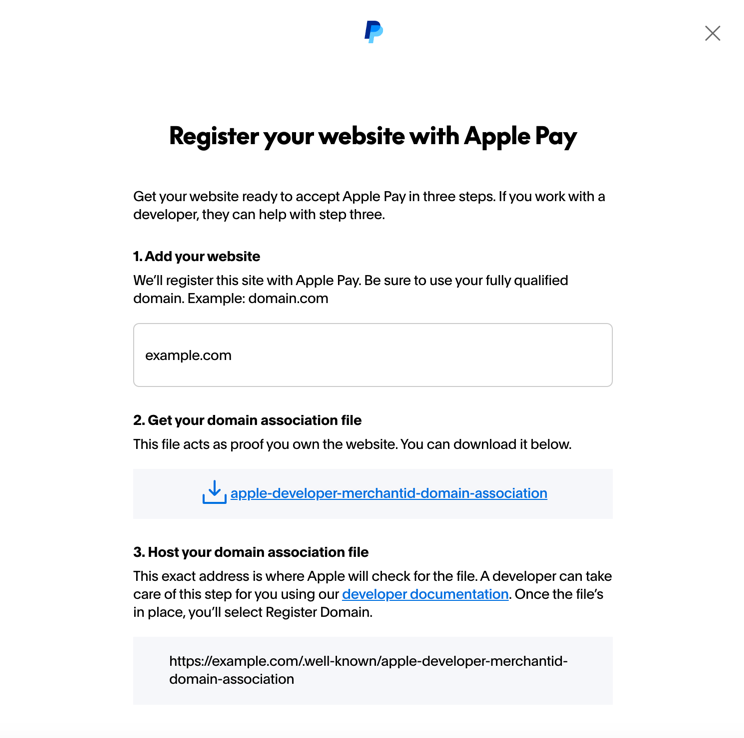
Domain registration modal showing the three-step process for registering a website with Apple Pay
Step 1: Add your website - Enter your fully qualified domain name (for example, domain.com or www.domain.com)
Step 2: Get your domain association file - PayPal provides a download link for the file (you've already completed this step in your WordPress plugin)
Step 3: Host your domain association file - The file must be accessible at the exact address PayPal specifies (you've already done this via the plugin)
Enter your domain name in the field provided. Make sure to use your fully qualified domain exactly as customers access it. For example, if your site is accessible at www.yourdomain.com, enter it with the www prefix. If it's accessible at yourdomain.com without the www, enter it without the prefix.
Domain Format Matters: Enter your domain exactly as it appears in your browser's address bar when customers visit your site. Using www.yourdomain.com versus yourdomain.com are treated as different domains by Apple Pay.
After entering your domain name, click "Register Domain". PayPal will make a request to your website to verify that the domain association file exists at the correct location and is accessible.
Step 5: Verify Domain Registration
If the domain association file is properly configured and accessible, you'll see a success confirmation:
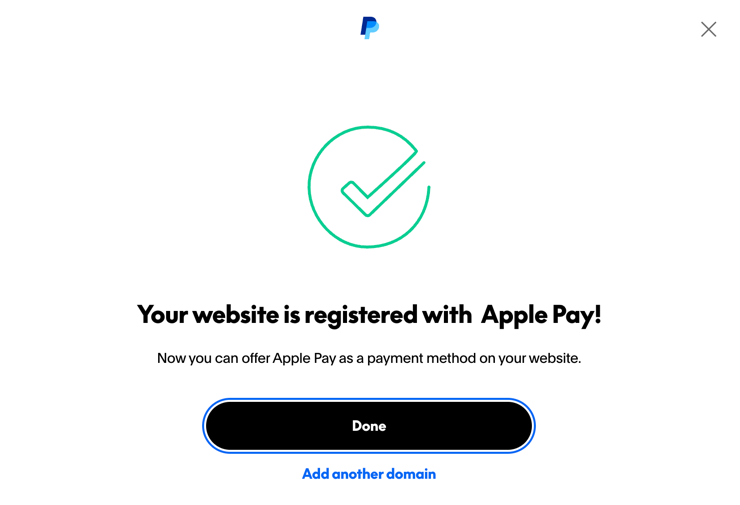
Success confirmation showing the website is registered with Apple Pay
Your domain is now registered with Apple Pay and ready to accept payments. Click "Done" to complete the process.
If you have multiple subdomains (for example, a multisite WordPress installation), you'll need to add a separate entry for each subdomain by clicking "Add another domain" and repeating the registration process.
After Registration
Once your domain is registered with Apple Pay through PayPal, you can configure the Apple Pay payment method settings in your plugin. Navigate to WooCommerce > Settings > Payments > Apple Pay Gateway By Payment Plugins to customize:
- When and where the Apple Pay button appears
- Button styling and appearance
- Checkout flow behavior
- Transaction settings
Apple Pay will now be available as a payment option for customers using compatible Apple devices when they visit your checkout page.
Troubleshooting Common Issues
Domain Association File Not Found
If PayPal cannot verify your domain, check that:
- The file is accessible at
https://yourdomain.com/.well-known/apple-developer-merchantid-domain-association - Your web server returns a 200 HTTP status code (not a 302 redirect)
- The
.well-knowndirectory is not blocked by security plugins or server rules - Your SSL certificate is valid and properly configured
You can test the file accessibility by visiting the URL directly in your browser. If it displays the file contents, the file is accessible.
Domain Verification Fails
If domain verification fails even though the file is accessible:
- Verify you're using the correct domain format (with or without
www) - Check that no redirects are in place between the domain you entered and where the file is hosted
- Ensure your server is not blocking PayPal's verification requests
- Try the manual upload process if the automatic upload failed
Apple Pay Button Not Appearing
If the Apple Pay button doesn't appear on your checkout page after successful registration:
- Verify you're testing on a compatible Apple device (iPhone, iPad, or Mac with Safari)
- Check that Apple Pay is enabled in the plugin settings
- Ensure you're viewing the site over HTTPS
- Confirm that you've configured at least one payment method in Apple Wallet
Multiple Domains or Subdomains
If you operate multiple domains or subdomains (such as a multisite installation):
- Register each domain separately through the PayPal interface
- Upload the domain association file to each domain's root directory
- Verify that each domain can access the file independently
For additional support, refer to PayPal's Apple Pay developer documentation or contact PayPal merchant support.